First. Make sure that one has a second generation single bay My Cloud. Check the bottom of the My Cloud enclosure for the P/N number (example: (P/N: WDBCTLxxxxxxx-10). That P/N number should end with “-10”. If it does not end with “-10” then it is not a second generation single bay My Cloud and the following directions will not work.
One suggestion. Connect the new hard drive to the computer and use the computer’s disk management program to delete all existing partitions on the new hard drive that will be used in the My Cloud.
Alternative way:
Use Debian/Ubuntu or any other linux distro (USB/CD Live/Boot disk image)
The following directions use /dev/sda. Change to match your hard drive location. To do so list the disks on your system by entering the following in the Linux terminal window:
parted -l
If this is new disk or damaged (formatted) old, recreate partitions first. DO NOT change any of the mkpart primary values, enter them exactly in the Linux terminal window:
parted /dev/sda
mklabel gpt
mkpart primary 1049kB 2149MB
mkpart primary 8591MB -1MB
mkpart primary 7517MB 8591MB
mkpart primary 2149MB 3222MB
mkpart primary 3222MB 4296MB
mkpart primary 4296MB 6443MB
mkpart primary 6443MB 7517MB
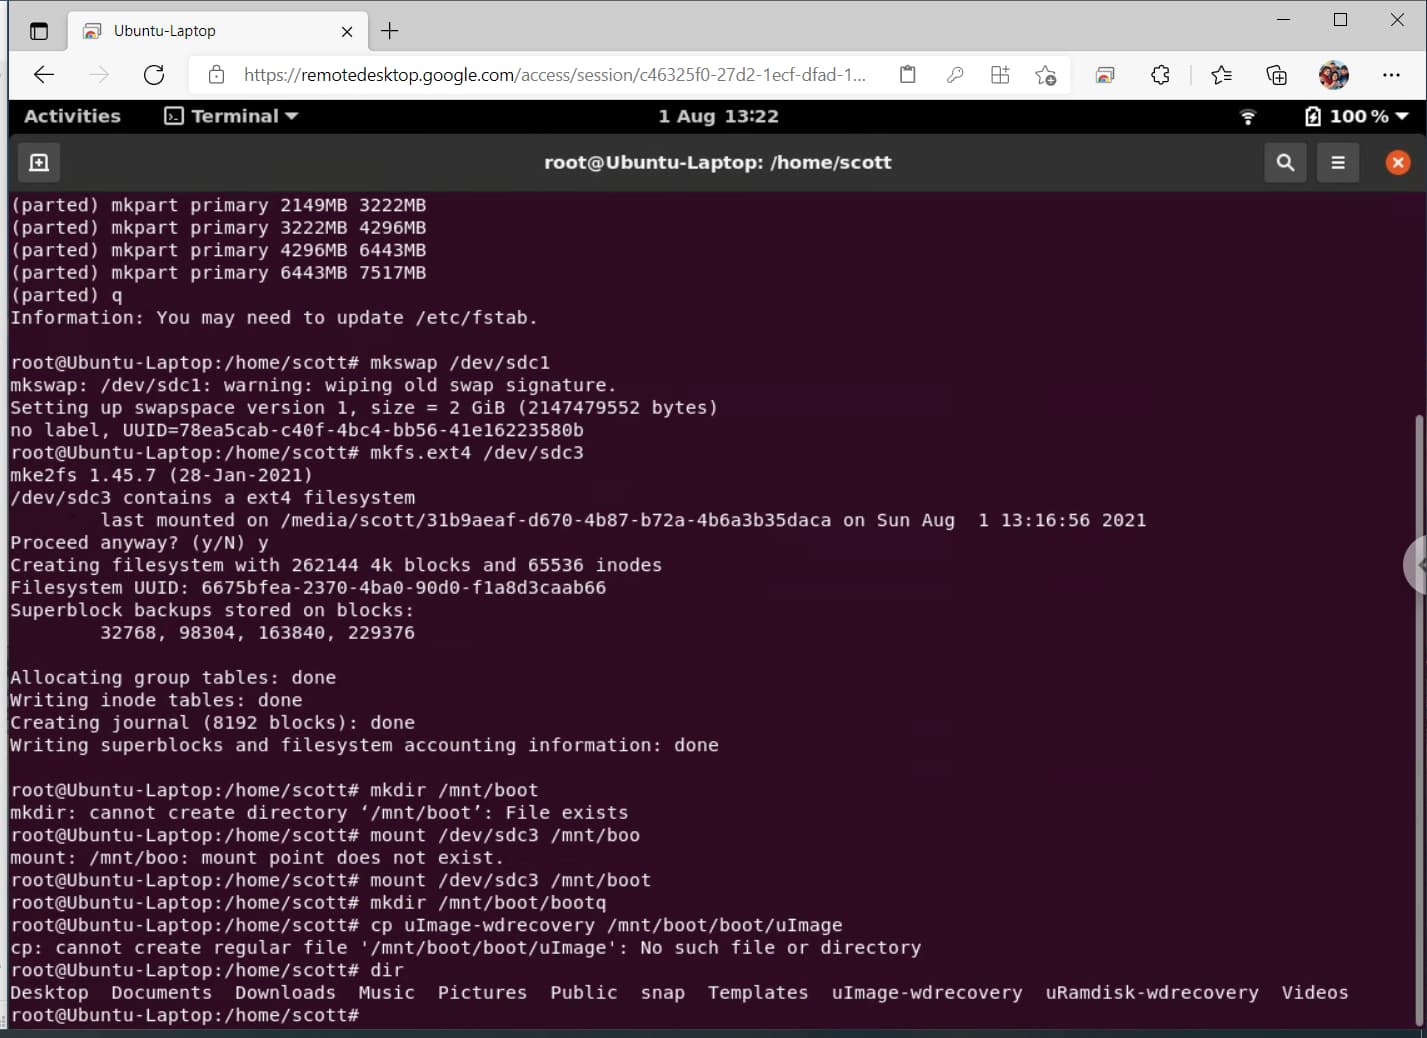
q
mkswap /dev/sda1
mkfs.ext4 /dev/sda3
Download, on that same Linux computer using a web browser, the uImage-wdrecovery and uRamdisk-wdrecovery files from https://fox-exe.ru/WDMyCloud/WDMyCloud-Gen2/Developing/:
https://fox-exe.ru/WDMyCloud/WDMyCloud-Gen2/Developing/uImage-wdrecovery
https://fox-exe.ru/WDMyCloud/WDMyCloud-Gen2/Developing/uRamdisk-wdrecovery
Make a directory called /mnt/boot on the Linux computer, mount the /dev/sda3 (ext4) partition from the new hard drive to the newly created /mnt/boot directory on the Linux computer. Then create a subdirectory called /mnt/boot/boot. This will create a subdirectory called boot on the mounted /dev/sda3 partition. Then copy (and rename in the process) the file uImage-wdrecovery to /mnt/boot/boot/uImage and the file uRamdisk-wdrecovery to /mnt/boot/boot/uRamdisk:
mkdir /mnt/boot
mount /dev/sda3 /mnt/boot
mkdir /mnt/boot/boot
cp uImage-wdrecovery /mnt/boot/boot/uImage
cp uRamdisk-wdrecovery /mnt/boot/boot/uRamdisk
Shut down Linux. Connect the hard drive to the My Cloud motherboard/back plane. Connect the Ethernet cable to the My Cloud Ethernet port and connect power to the My Cloud. The My Cloud should begin the boot process.
Wait a few minutes. Then open a browser window on the computer and go to the IP address for the My Cloud (or try http://wdmycloud or http://wdmycloud.local). If the “WD Recovery” page loads. In a separate browser window download the latest OS3 v2.x single bay My Cloud firmware file: https://downloads.wdc.com/nas/My_Cloud_GLCR_2.41.116.bin
Once downloaded return to the open browser window for the “WD Recovery” page and try to upload the My_Cloud_GLCR_2.41.116.bin file. Follow any on screen prompts during the upload process. If prompted to reboot the My Cloud, reboot the unit if the unit doesn’t reboot by itself after firmware uploaded.
After My Cloud reboot, wait a few minutes then try to open the My Cloud Dashboard via the My Cloud IP address or by http://wdmycloud or http://wdmycloud.local
Perform a System Only Restore through the My Cloud Dashboard > Settings > Utilities section.
Then log back into the My Cloud Dashboard after performing the System Only Restore and configure the My Cloud.