I have a problem with this device. What happened was that I formatted the entire disk, deleted the partitions and the operating system. My disk was blank. Now I need to reinstall the system and create the partitions again. The device currently has a solid red LED. I hope you can help me. Thank you.
First question is why did you format, delete and partition the disk? Is this a new disk that you are intending to put in the My Cloud enclosure to replace the original My Cloud enclosure disk?
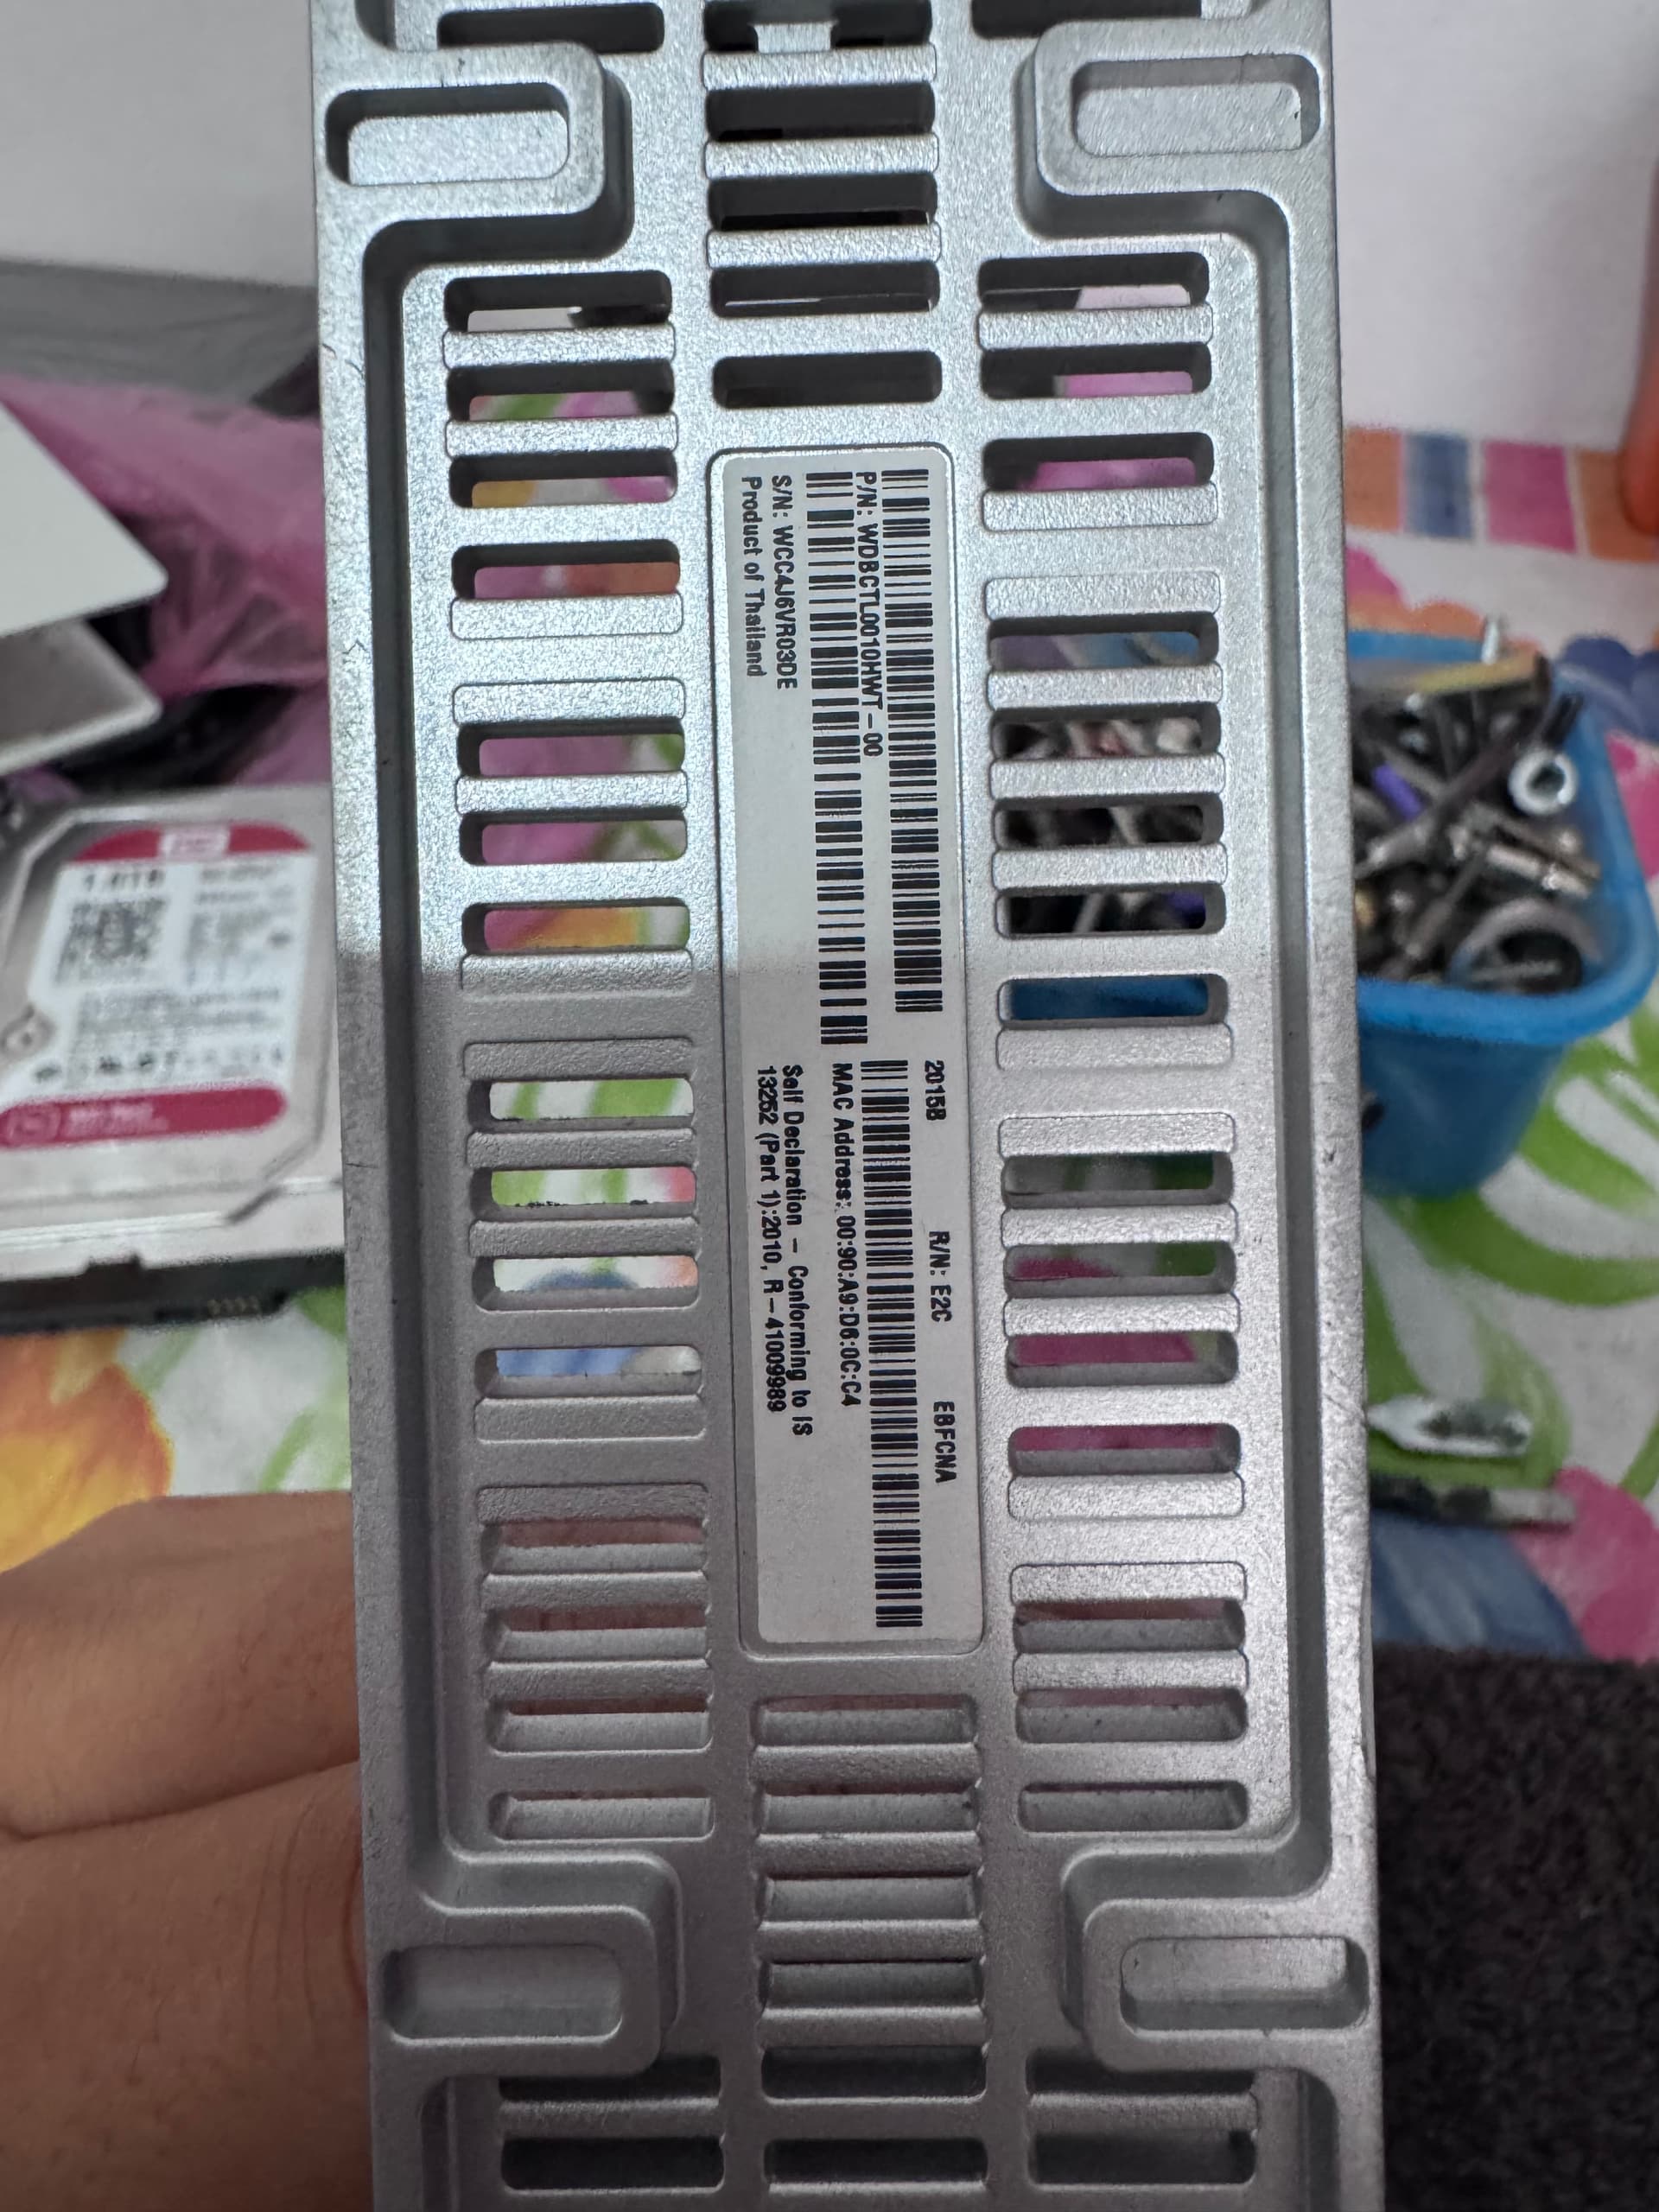
Because the image you posted indicates a P/N number that ends in “-00”. It would appear you have a FIRST generation single bay My Cloud unit. First generation single bay My Cloud units run the OS3 v4.x firmware not the OS5 v5.x firmware. The first generation My Cloud is end of support and considered a legacy product by WD.
Use the forum/subforum search feature to search the many discussions in the My Cloud OS3 subforum for how to replace the My Cloud hard drive, correctly partition and format it, and restore the v4.x operating system to it. There are many discussions in the OS3 subforum on how to “unbrick” a first gen My Cloud.
For example there are the following directions that some have used to restore their FIRST generation single bay My Cloud to working order.
Note that to properly unbrick/restore a hard drive to working order for use in a My Cloud enclosure takes some skill and knowledge. One may need to learn how to use Linux and the Linux command line. One may need to perform the “unbrick” or restore procedure several times before it “sticks” and works right. Do not change any of the partition values (mkdir steps) indicated in the directions. It is generally suggested to do a 40 second pin reset (or a My Cloud Dashboard System Only restore) after a successful unbrick or hard drive restore.
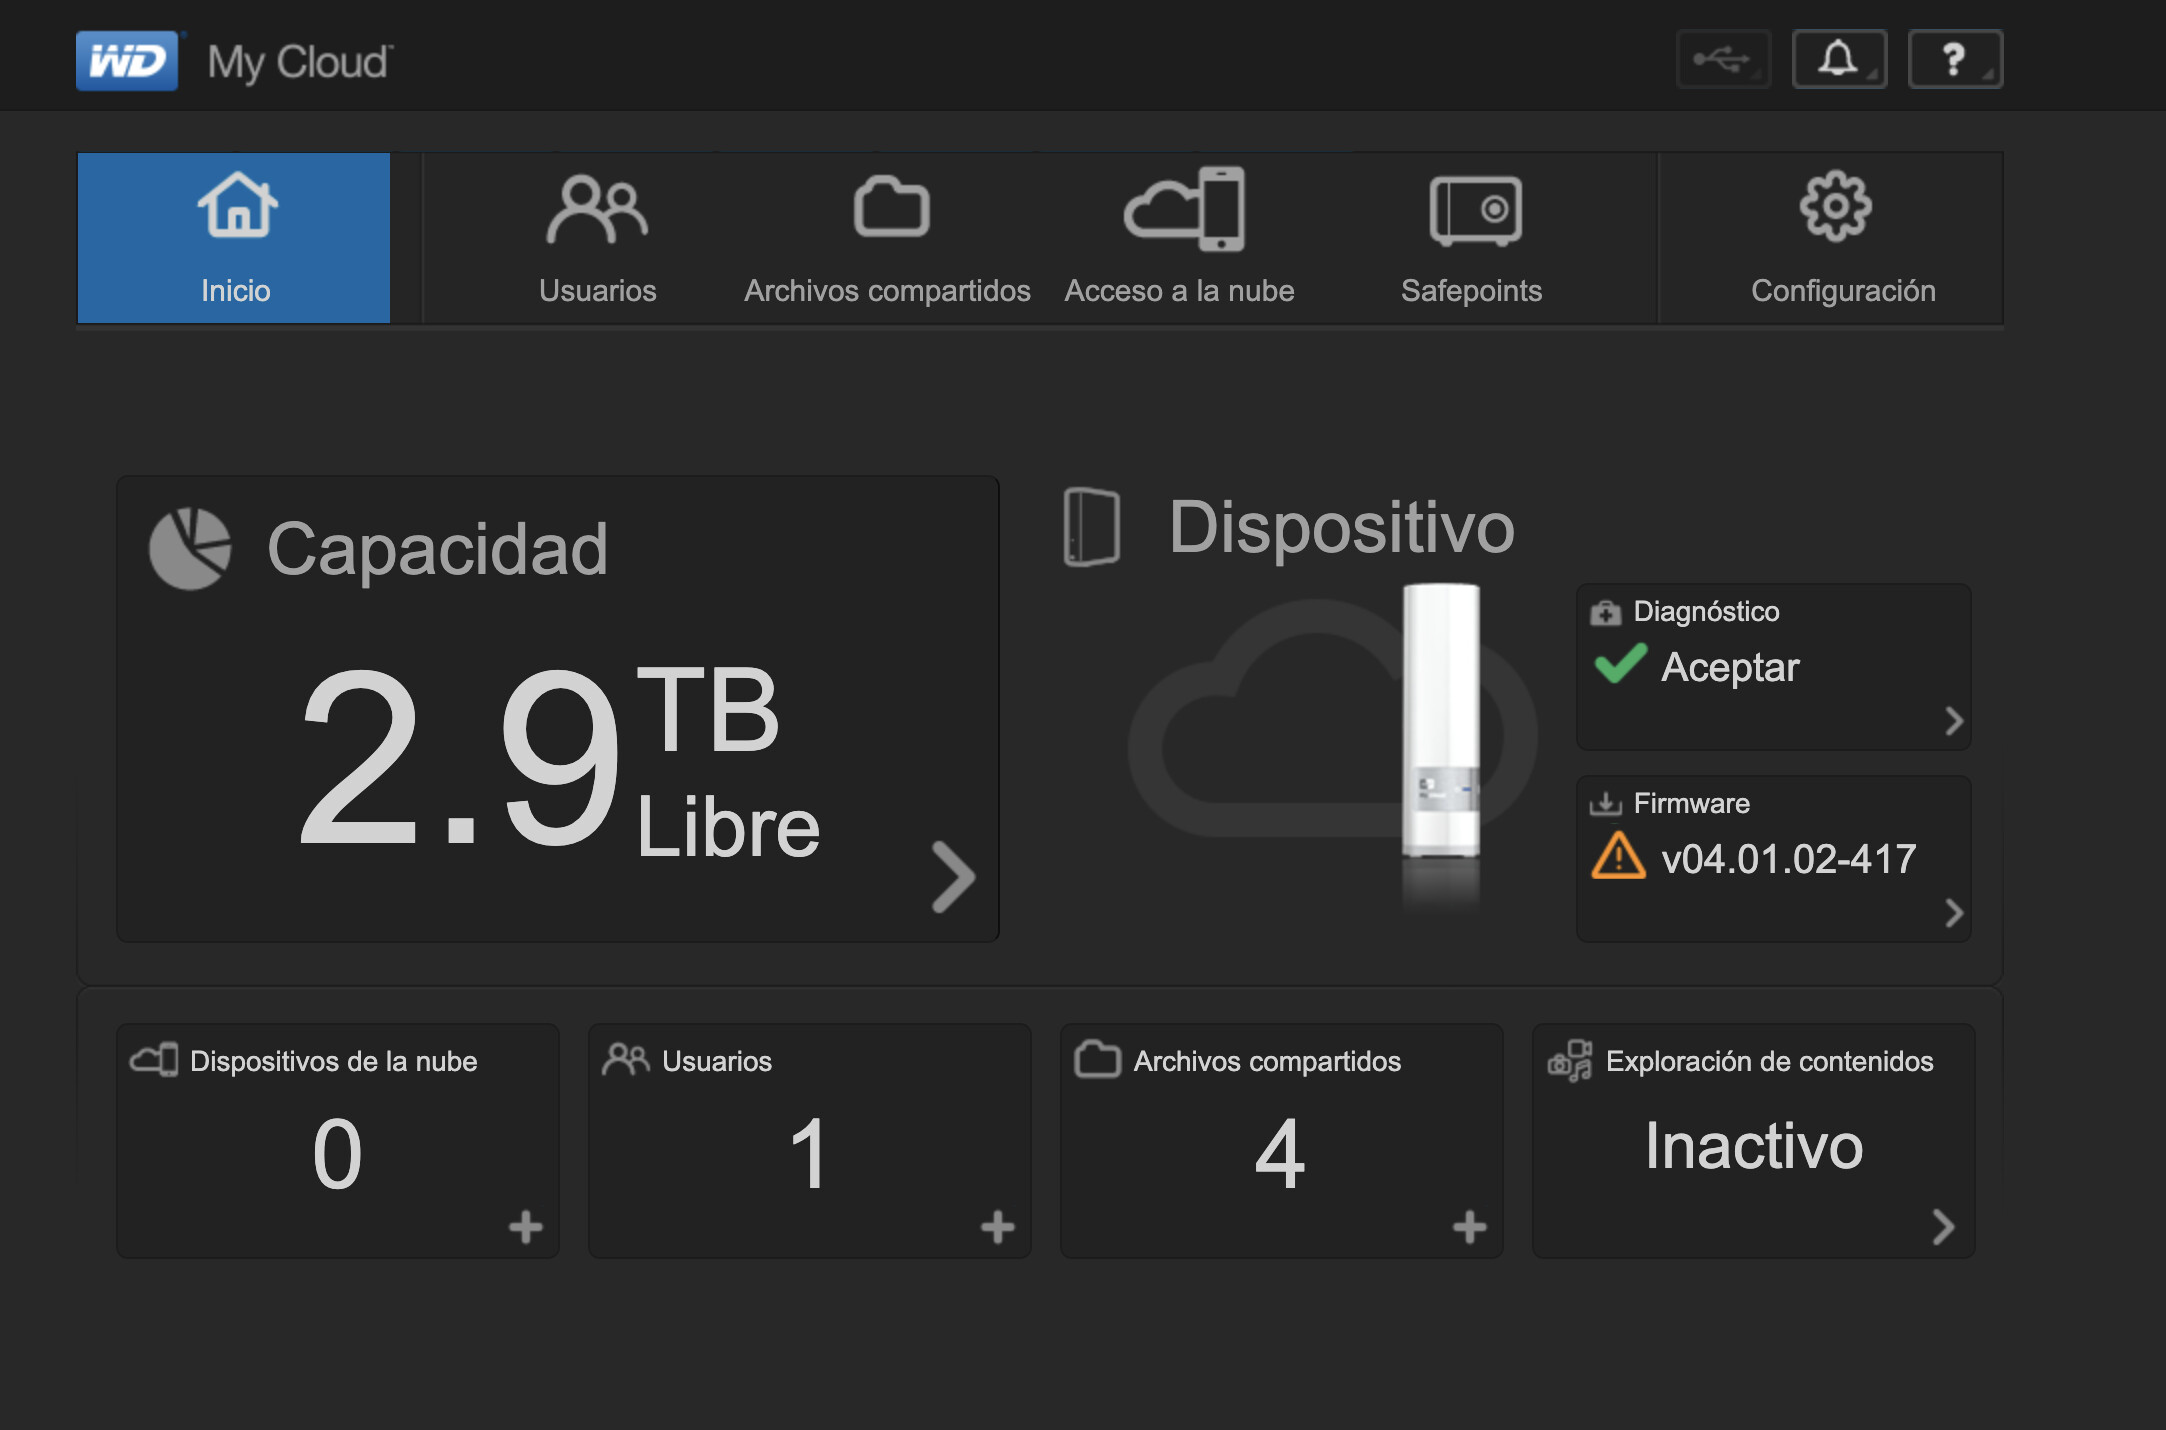
Good day, thank you very much for the help, I decided to erase my hard drive, because at first I cloned it, but it did not detect the increase in capacity and that is why I made the mistake of formatting it completely, I have already completed the entire guide that was attached to me, I have tried with both firmware versions. Both times it has been successful. Now the indicator does not mention solid red, now it is solid white, however, I have not been able to detect the device from the old IP where I used to access the administration panel. Now I am trying to detect it, but I have not succeeded.
As indicated sometimes one has repeatedly try those steps several times before it sticks and the unbrick process works correctly.
If one uses the forum search feature (magnifying glass icon top right) they’ll find numerous other discussions on how to “unbrick” / install a new hard drive in the single bay enclosure. Some of those discussions involve using an “.img” file taken from another My Cloud device.
Thank you very much. My WD Gen 1 is back to life. I have some important considerations that helped me in my case: how to first format the hard drive you’re going to use (recovery), how to use the second firmware version, how to view errors in step 6 (you’ll need to reboot Ubuntu), and in step 7, make sure “mkfs -t ext4 /dev/sdb4” isn’t mounted before running the command. If it is, unmount it first.
Anyway, I asked Gemini to make a guide for those who find it helpful.
Thank you very much. @ Bennor
Important Considerations & Preparation:
Warning! This process will completely erase all data on your WD My Cloud hard drive. Ensure you have a backup of any important information.
You will need a Ubuntu Live USB (or Kali Linux).
A USB to SATA adapter or direct SATA connection on your PC.
Disconnect any other hard drives from your PC to prevent accidental data loss.
Run all commands as root user or using sudo. This guide will use sudo consistently.
The recommended firmware is original_v04.01.02-417.tar.gz.
Step 0: Prepare Environment & Disk Wipe
Boot your PC from the Ubuntu Live USB.
Open Terminal (usually Ctrl + Alt + T).
Install necessary tools (if not already present):
Bash
sudo apt update
sudo apt install mdadm parted wget tar
Identify your WD My Cloud hard drive: With the hard drive externally connected, run:
Bash
sudo fdisk -l
# OR
sudo parted -l
Find your WD My Cloud disk by its size (e.g., 2TB, 4TB). Note its device name (e.g., /dev/sdb). It is CRITICAL to use the correct device name in all subsequent commands!
Completely wipe the disk (partition table and residual metadata):
Bash
sudo dd if=/dev/zero of=/dev/sdb bs=1M count=100
(This command writes zeros to the first 100MB of the disk, effectively erasing old partition tables and metadata. It won't show progress until finished.)
Step 1: Create Disk Partitions
Enter the parted utility for your disk:
Bash
sudo parted /dev/sdb
Inside the (parted) prompt, enter the following commands EXACTLY in this order:
mklabel gpt
mkpart primary 528M 2576M
mkpart primary 2576M 4624M
mkpart primary 16M 528M
mkpart primary 4828M -1M
mkpart primary 4624M 4724M
mkpart primary 4724M 4824M
mkpart primary 4824M 4826M
mkpart primary 4826M 4828M
set 1 raid on
set 2 raid on
quit
Step 2: Reboot Ubuntu & Format Swap and Data Partitions
CRITICAL! Reboot your PC from the Ubuntu Live USB:
Bash
sudo reboot
This reboot is essential for the Linux kernel to properly recognize the newly created partition table. After rebooting, re-open Terminal and re-install mdadm and parted if your LiveCD doesn't persist them.
Once Ubuntu has restarted and you're back in the Terminal, ensure your partitions are detected:
Bash
ls -l /dev/sdb*
You should see sdb1 through sdb8.
Format the data partition (/dev/sdb4) and the swap partition (/dev/sdb3):
IMPORTANT! Before formatting /dev/sdb4, ensure it's not automatically mounted.
Bash
mount | grep /dev/sdb4
If the output shows a line like /dev/sdb4 on /media/your_user/UUID..., it means it's mounted. Unmount it using the full path:
Bash
sudo umount /media/your_user/5ac18998-3376-4f28-9b4b-b97b1273bc37 # Replace with your actual path
Make sure you are not inside the directory you're trying to unmount (cd / first).
Now format:
Bash
sudo mkfs -t ext4 /dev/sdb4
sudo mkswap /dev/sdb3
Step 3: Assemble the RAID Array (RootFS)
Stop any RAID arrays that might have auto-assembled or are residual:
Bash
sudo mdadm --stop /dev/md*
# Ignore "does not appear to be an md device" or "Not found" messages.
Assemble the main RAID array /dev/md0 using sdb1 and sdb2:
Bash
sudo mdadm -A /dev/md0 /dev/sdb1 /dev/sdb2
You should see a message like mdadm: /dev/md0 has been started with 2 drives.. This indicates the array is created and active.
Optional: Monitor the RAID status until it's 100% synchronized (if applicable):
Bash
watch cat /proc/mdstat
(Press Ctrl + C to exit watch once it reaches 100% and you see [UU] next to md0).
Step 4: Download and Write Firmware Images
Create a temporary mount point and mount the data partition:
Bash
mkdir /mnt/firmware_temp
sudo mount -t ext4 /dev/sdb4 /mnt/firmware_temp
cd /mnt/firmware_temp
Download the recommended firmware file:
Bash
sudo wget https://fox-exe.ru/WDMyCloud/WDMyCloud-Gen1/Backups/original_v04.01.02-417.tar.gz
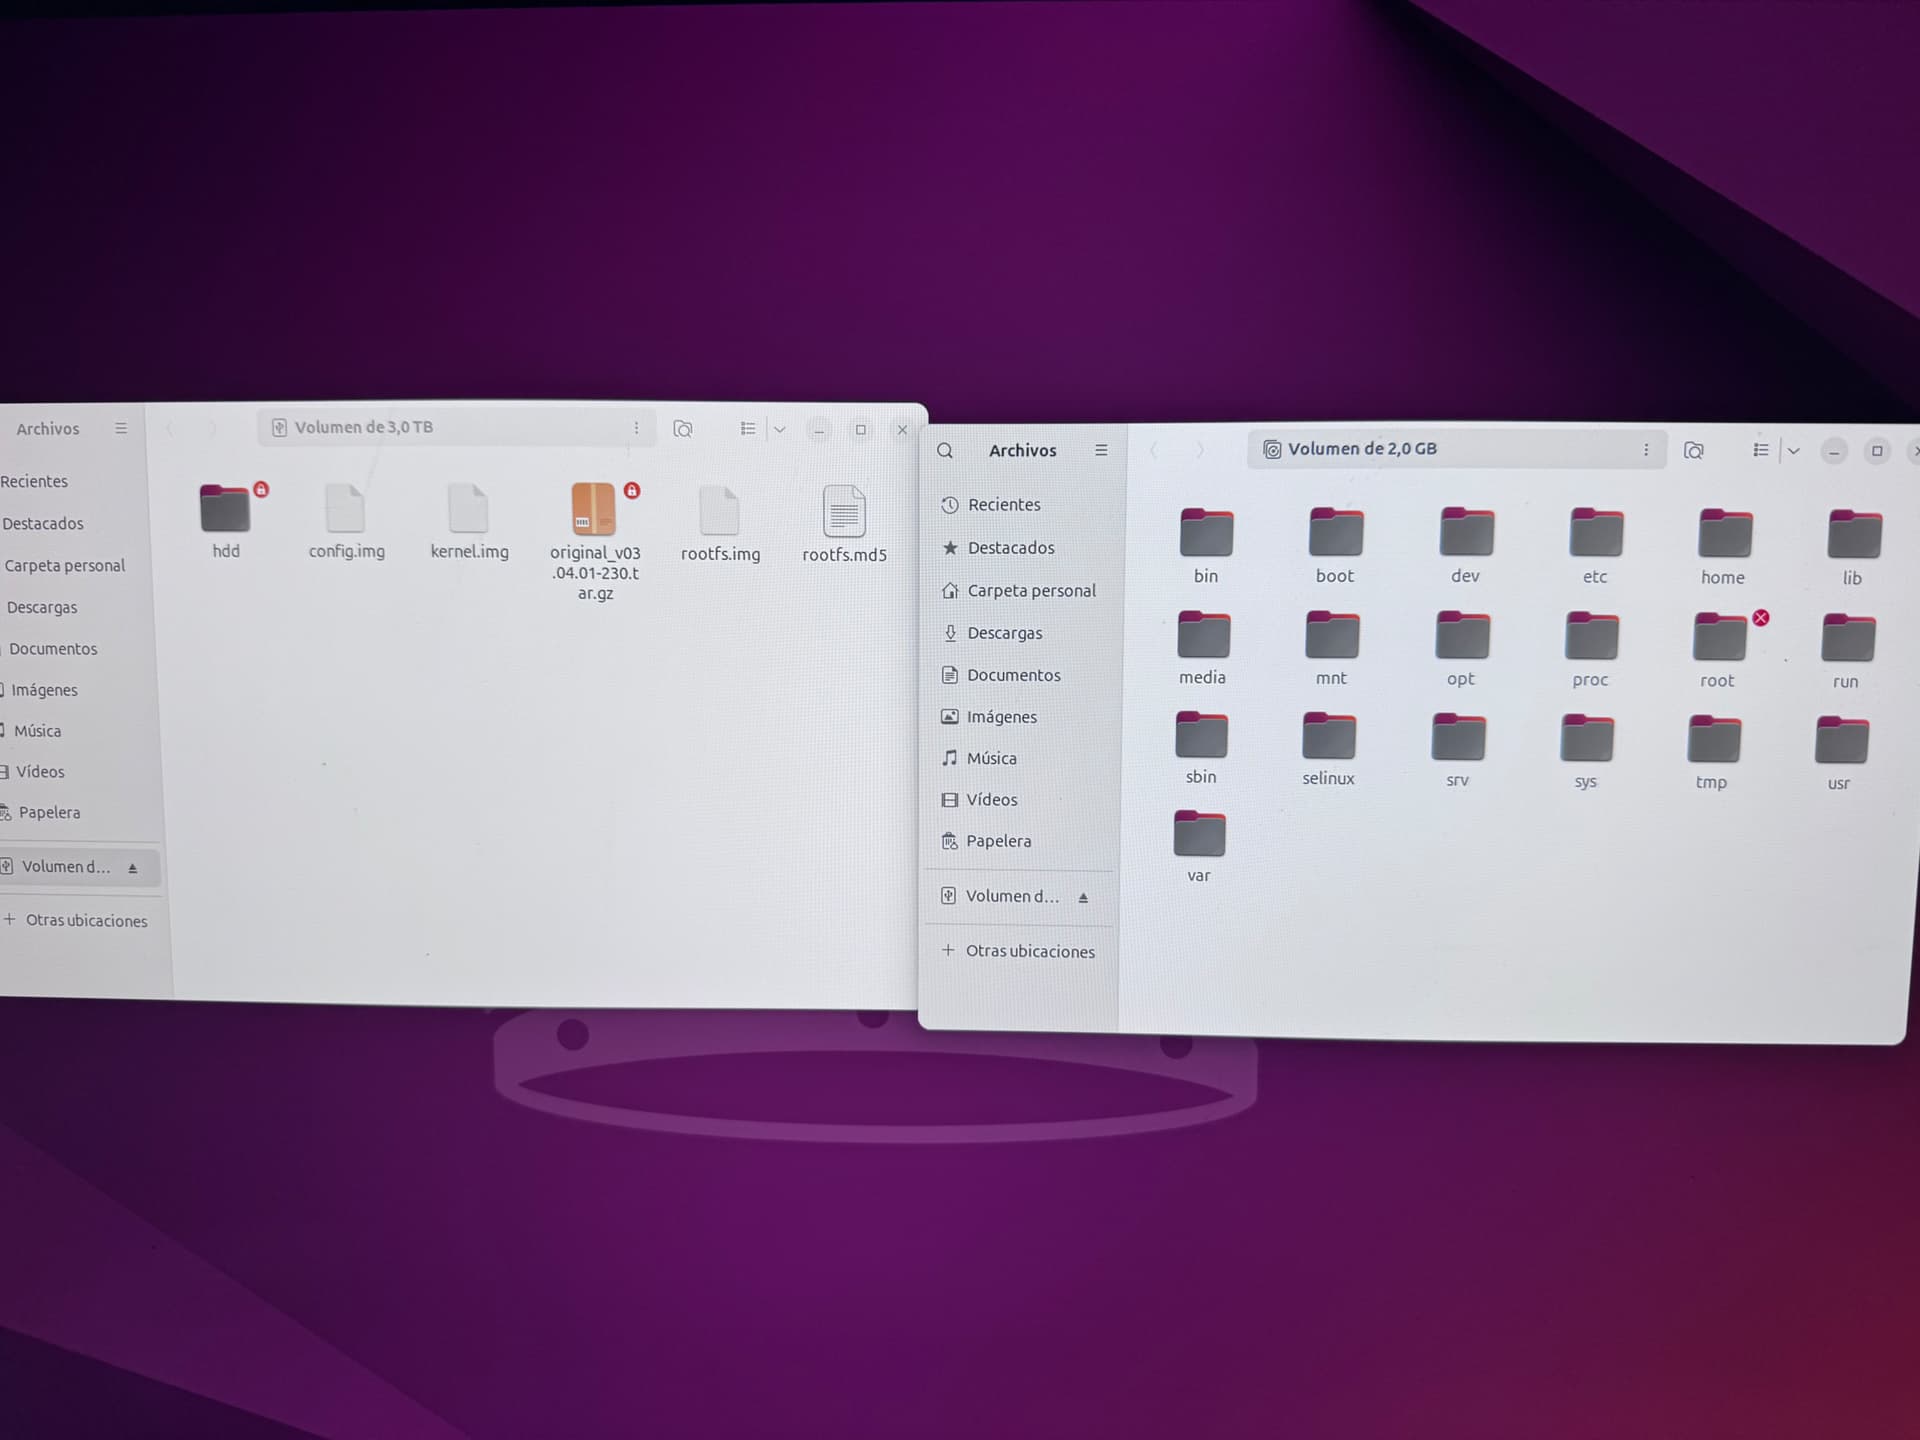
Extract the contents of the downloaded archive:
Bash
sudo tar xvfz original_v04.01.02-417.tar.gz
Verify that kernel.img, config.img, and rootfs.img are now in the current directory.
Write the images to their respective partitions:
Bash
sudo dd if=kernel.img of=/dev/sdb5
sudo dd if=kernel.img of=/dev/sdb6
sudo dd if=config.img of=/dev/sdb7
sudo dd if=config.img of=/dev/sdb8
sudo dd if=rootfs.img of=/dev/md0 # RootFS is written to the RAID array!
Wait for each dd command to complete.
Step 5: Mark for "Fresh Install"
Create a temporary mount directory for the root filesystem:
Bash
mkdir /mnt/rootfs_mount
Mount the md0 RAID device (which now contains the rootfs):
Bash
sudo mount /dev/md0 /mnt/rootfs_mount
If you receive a "structure needs cleaning" error here:
Bash
sudo umount /mnt/rootfs_mount # First unmount it
sudo fsck -y /dev/md0 # Run filesystem check/repair on md0
sudo mount /dev/md0 /mnt/rootfs_mount # Remount
Create the .fresh_install file:
Bash
sudo touch /mnt/rootfs_mount/etc/.fresh_install
Unmount the root filesystem partition:
Bash
sudo umount /mnt/rootfs_mount
Unmount the data partition as well (if you haven't already):
Bash
cd / # Exit /mnt/firmware_temp if you are inside
sudo umount /mnt/firmware_temp
Step 6: Shut Down PC and Boot WD My Cloud
Shut down your PC from the Terminal:
Bash
sudo shutdown -p -H 0
Disconnect the hard drive from your PC and reconnect it to the circuit board of your WD My Cloud.
Connect power to your WD My Cloud and turn it on.
Wait patiently for 5-10 minutes (or longer) for the My Cloud to boot for the first time. The LED should change to blue.
Once the LED is blue, try accessing the WD My Cloud Dashboard via your web browser (http://wdmycloud/ or the IP address you find in your router's settings).
If you can access it, follow the initial setup screens. You might need to perform a "Quick Restore" or "Quick Factory Restore" from the Utilities section in the Dashboard to correctly recognize the full disk capacity and rebuild system files.
Good luck sharing this with the community!