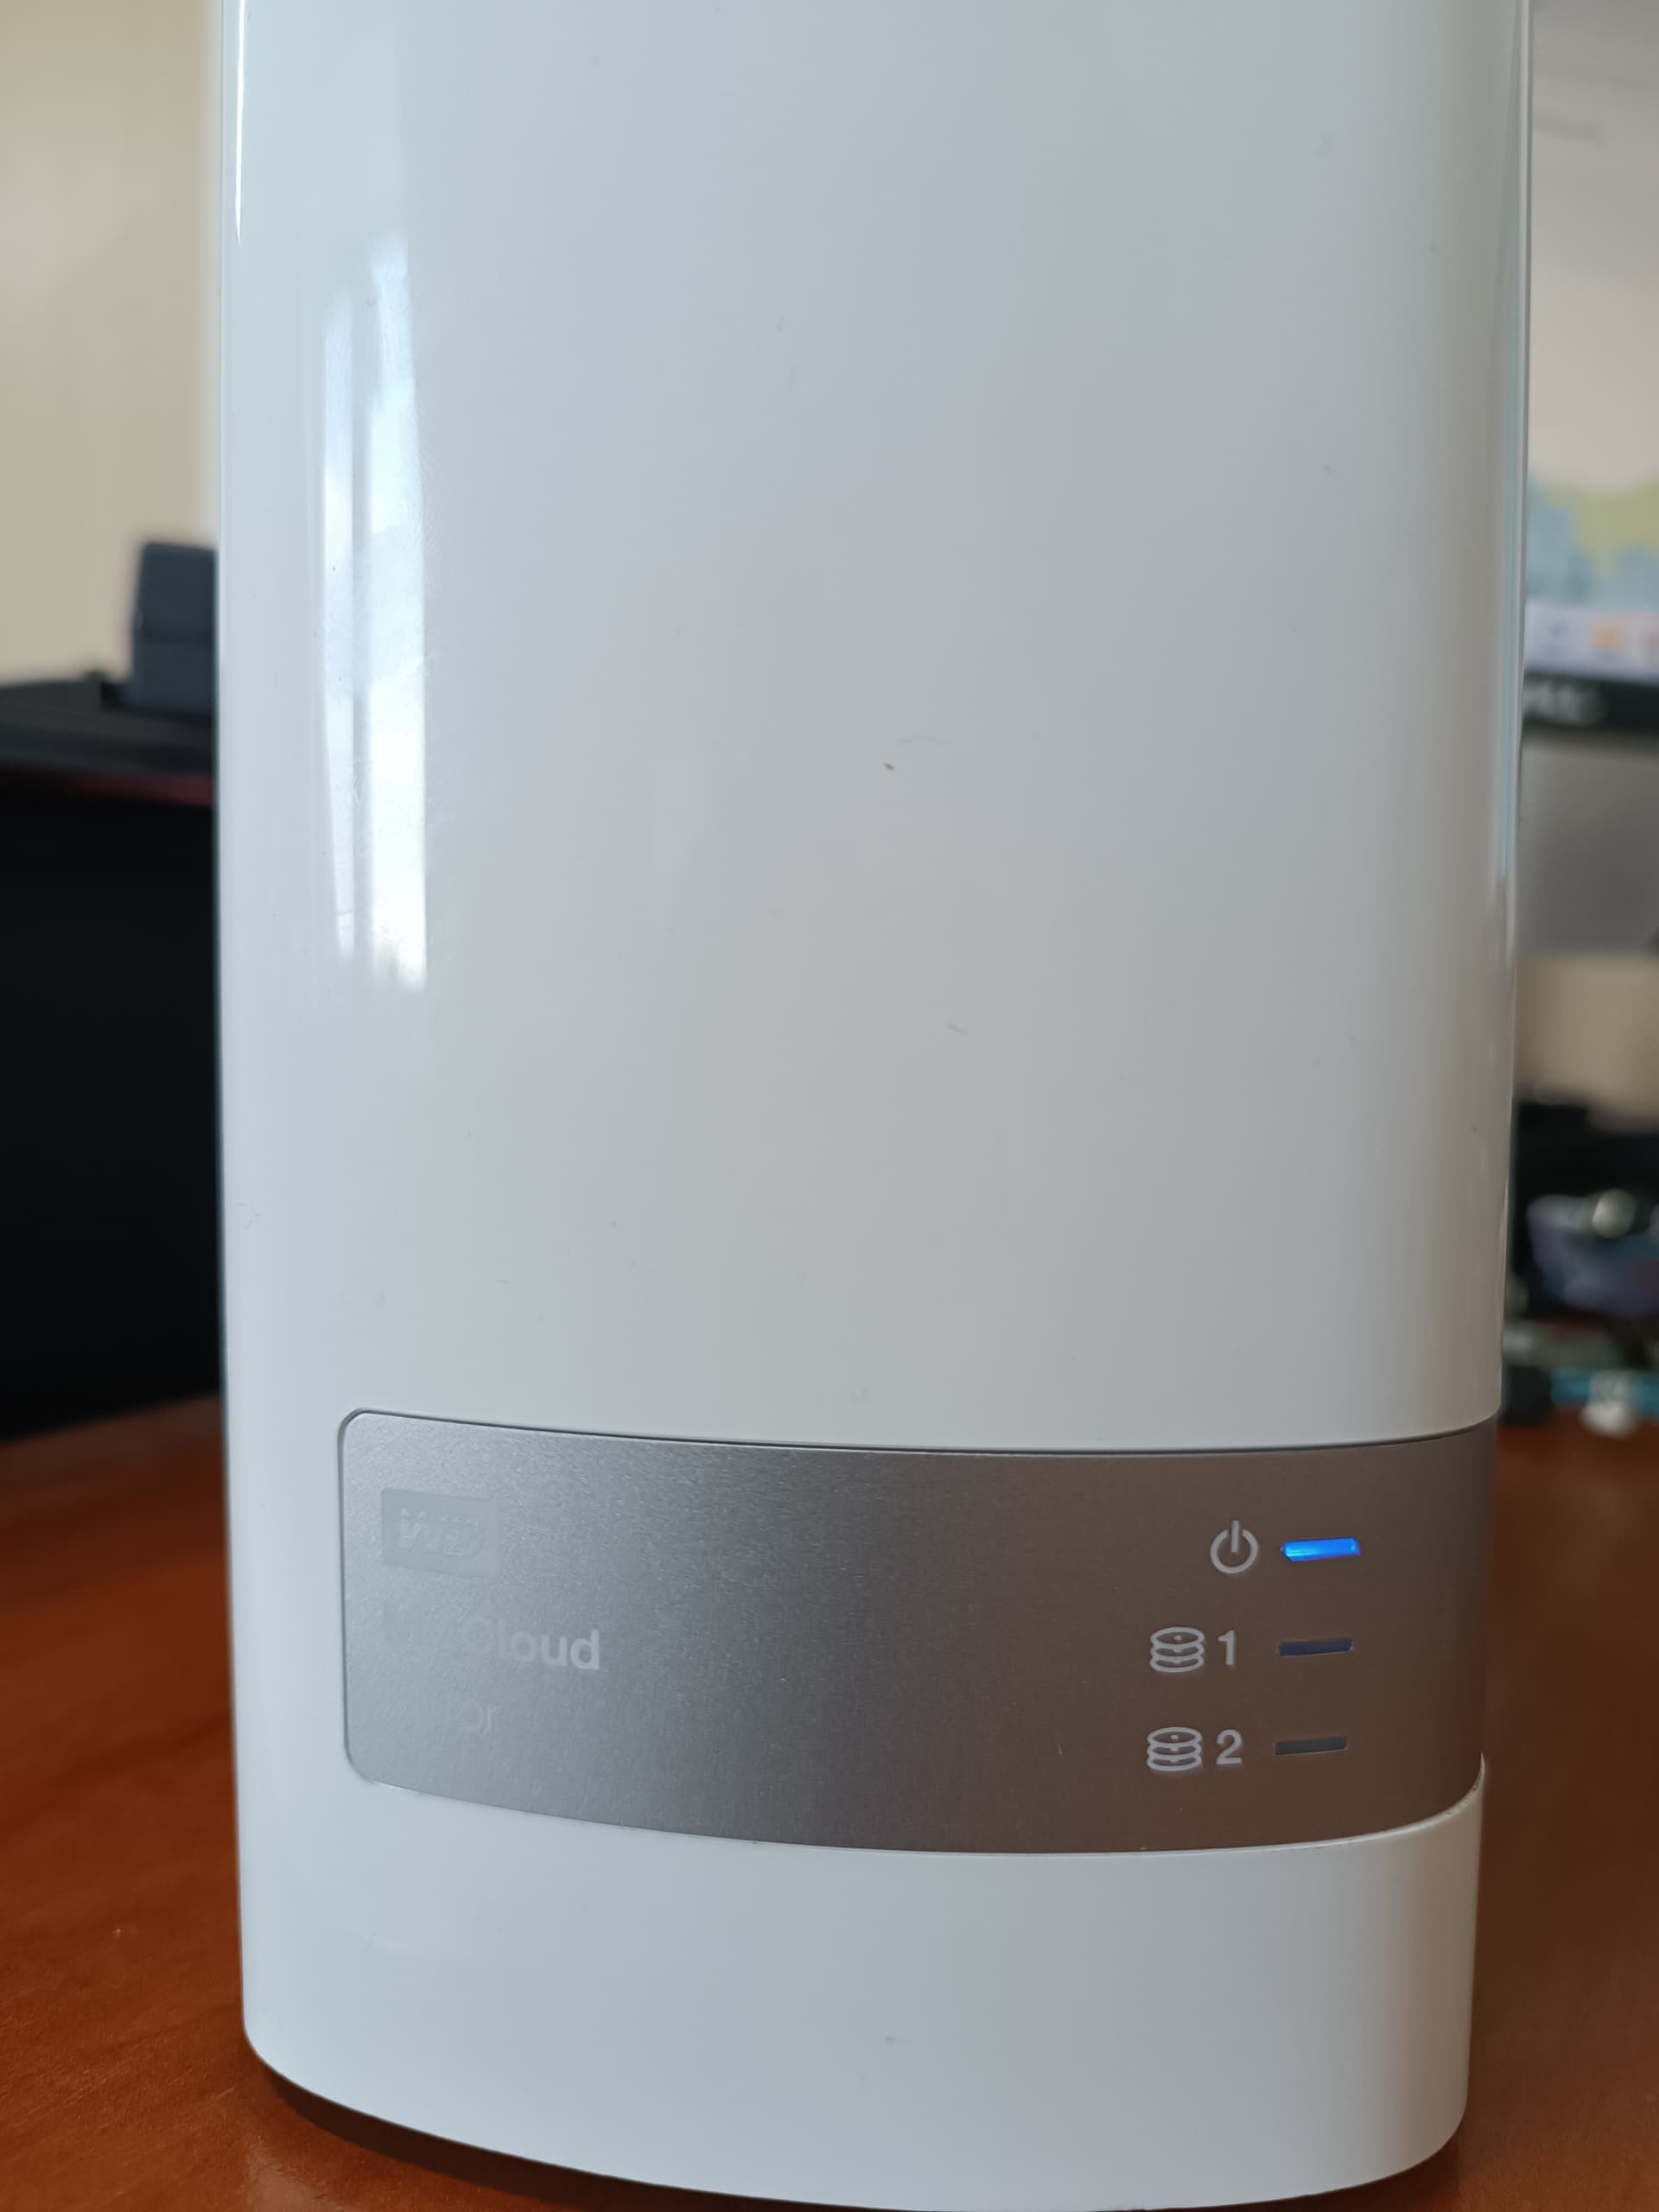
My WD My Cloud Mirror NAS don’t turn on. I can`t access the files by just connecting the disks to Windows PC.
How to extract data from hard disks after the NAS device broke down, from an inoperable disk array?
Do you have a way to connect them to a Linux operating system?
Was your device on Operating System 3 or 5? You are saying you have a My Cloud Mirror but posted your topic under the My Cloud Home sub-forum. A My Cloud Home with two drives is known as a My Cloud Home Duo.
interesting program, thank you. But will it read my disks that were part of raid0?

Since no one helped me solve my problem, I figured it out myself. Here’s how I did it:
I take the disks out of the NAS device and connect them to a Windows computer. The operating system of the computer to which I have connected the disks asks me to initialize or format them. I didn’t do that, because it would make recovery a lot more complicated.
I installed and ran Hetman RAID Recovery. It analyze the disks, read their service information and rebuild the damaged RAID system. The program has rebuilt the damaged RAID and found all the files stored on the network drive.
I understand that this is not the most correct and cheap way, but it suited me at the moment.

Here are a few alternatives to try to extract records from the hard disks after your WD My Cloud Mirror NAS stopped working:
- Connect the hard disks directly to a computer. If the disks are not damaged, the computer should be able to detect them and you may be able to access the files directly. However, if the disks were set up in a RAID configuration on the NAS, you may need RAID recovery software to rebuild the array before accessing the files.
- Use data recovery software. Software like Stellar NAS Data Recovery or Disk Drill can scan the disks and recover deleted files even if the file system is corrupted. This requires connecting the disks to a computer.
- Send the disks to a professional data recovery service. They have specialized tools and clean room facilities to repair damaged drives and recover data. This is the most reliable but also most expensive option.
- If you know the RAID configuration used on the NAS, you may be able to buy another compatible NAS device and insert the drives to access the data. The new NAS would need to support the same RAID levels.
- As a last resort, if the disks are not physically damaged but you cannot access the data, you can format the drives to reuse them, but this will erase all data. So only do this if you’ve exhausted all other options.
Unable to recover my NAS data. Could anyone suggest some manual solution if possible.
More information is needed: what kind of NAS you have, the type of RAID array, the number of disks, the reason for the data loss, etc.
This thread was mistakenly started in this subforum by an owner of a My Cloud Mirror who is using a completely different processor and operating system (OS3 or OS5) than what every owner in this subforum (My Cloud Home, running OS4) is using. So be aware of the errors that will come up following these suggestions which included some SPAM thrown in for good measure.
It is unlikely that a home user can recover data on their own from a damaged SMR hard disk used in the My Cloud Home if that is what they have.
The only official way of data recovery from the My Cloud Home is clearly described from Western Digital:
My Cloud Home Data Recovery
Data Recovery of a My Cloud Home can only be accomplished by the following Western Digital Data Recovery Partners.
ountered an issue with their https://statustrends.com WD My Cloud Mirror NAS device not turning on and had difficulty accessing the files. However, they were able to find a solution independently by taking the disks out of the NAS device and connecting them to a Windows computer. While the computer prompted to initialize or format the disks, MatthiasStout wisely chose not to proceed with it to avoid data loss.
If you’re facing a similar situation and need assistance with data recovery from an inoperable disk array, it’s essential to proceed with caution to avoid further data loss. You may consider seeking professional help from data recovery experts or utilizing specialized software designed for data recovery from NAS devices.
When a NAS device like the WD My Cloud Mirror fails and won’t turn on, recovering data from the disk array can be challenging, especially if the disks were part of a RAID configuration. Here are some steps you can take to try to extract data from the hard disks:
- Do not connect the disks directly to a Windows PC, as this may cause further data corruption or make recovery more difficult.
- Determine the RAID configuration used by your NAS device. The WD My Cloud Mirror likely used a RAID 1 (mirrored) configuration with two disks.
- Seek professional data recovery services. Companies specializing in data recovery have the necessary tools, expertise, and a controlled environment to safely extract data from failed RAID arrays and other complex storage systems.
- If you prefer to attempt data recovery yourself, you’ll need specialized software and hardware: a. Obtain a RAID data recovery software compatible with your NAS model and RAID configuration. b. Purchase a compatible RAID controller or a USB-to-SATA adapter to connect the disks. c. Create a byte-by-byte disk image of each disk using data recovery software to avoid any risk of further data loss. d. Attempt to reconstruct the RAID array and recover data using the disk images and RAID recovery software.
- If one disk in the RAID 1 array is still operational, the recovery process may be simpler, but it’s still recommended to create disk images before attempting any recovery.
Keep in mind that DIY NAS data recovery from a failed RAID array can be risky and may lead to permanent data loss if not done correctly. Consulting professional data recovery experts is often the safest and most reliable option, especially if the data is critical.
I suggest you to read this and find a solution if you need to solve this
Read more: https://www.blrtools.com/nas-data-recovery-tool.html
These SPAM posts with data recovery software are all the same, they are not able to recover much and they will upsell you to their services as this one MCH Duo user below who can attest.
There is no easy way for a HOME user to do recovery from SMR disk(s) with sector errors. None of the software under $15k can do it and you need adequate knowledge to use it.
So the best policy is to do USB HDD backups and plenty of it if your data is any value to you and don’t use SMR disks such as those that come with the MCH for enterprise or even small business work because their average life span is 2.5 years.
Please read the Western Digital official support position on data recovery here:
The only official way of data recovery from the My Cloud Home is clearly described from Western Digital:
Data Recovery for My Cloud Home
Find detailed answers to your support questions for your Western Digital, SanDisk, WD_BLACK, or WD storage product.
My Cloud Home Data Recovery
Data Recovery of a My Cloud Home can only be accomplished by the following Western Digital Data Recovery Partners.
There are a lot of spam bot posts that listed a lot of useless information unrelated to the My Cloud Home. Just ignore them because WD support appear to be unhelpful in deleting them.
Effective mthod to response
Nothing says spam bots more than all these congratulatory one line posts about how useful their posts are when they are all posting in the wrong forum.
Read Post #10 above for the official Data Recovery for My Cloud Home link.
I’m actually dealing with a similar issue right now and really hope this thread will help me figure things out. While searching for solutions, I also started reading this article on fix corrupted hard drive mac: https://www.cleverfiles.cоm/howto/fix-corrupted-hard-drive-mac.html. It seems pretty straightforward with detailed steps, so I’m feeling hopeful. I’ll definitely update you all and let you know if it works or if I find any other helpful tips along the way. Fingers crossed
There are just too much misinformation in this spammer’s thread. Even if you re-read the original post, the OP was just saying he bought some recovery software which he mentioned a few times by name and that he didn’t really care how much he paid for it. The OP didn’t show any work that proved he did any recovery. None of these spammers did any work.
If you are interested in how professionals would go about doing a recovery, start with this info:
Resolution
Recover data using a PC
- Make sure your PC has sufficient drive slots for drive installation.
- Remove the drives from your NAS and install them in your PC. For RAID or SHR configurations, you must install all the drives (excluding hot spare drives) in your PC at the same time.
- Prepare an Ubuntu environment by following the instructions in this tutorial.
- Go to the Files on the left bar and select Home.
- Right-click and select New Folder, and create one or more folders as mount points for accessing data.1
- Right-click on the new folder(s), click Properties, the parent folder with folder name is
${mount_point}.
- Example: If the parent folder is
/home/ubuntu/and the folder name isTest, the mount point will be/home/ubuntu/Test/
- Go to Show Application in the lower-left corner > Type to search….
- Enter Terminal in the search bar and select Terminal.
- Enter the following command to obtain the root privileges.
sudo -i - Enter the following commands to install
mdadmandlvm2, both of which are RAID management tools.lvm2must be installed orvgchangewill not work.apt-get update apt-get install -y mdadm lvm2 - Enter the following command to assemble all the drives removed from your Synology NAS. The results may differ according to the storage pool configurations on your Synology NAS.
mdadm -AsfR && vgchange -ay - Enter the following command to get the information of
${device_path}.cat /proc/mdstat lvsAccording to the output ofpvs/vgs/lvs, the device paths are as follows:
Below are the samples of md status corresponding to its RAID and volume type:
- |Device Paths|Classic RAID with single volume|
| — | — |
|cat /proc/mdstat|root@ubuntu:~# cat /proc/mdstat
Personalities : [raid1]
md4 : active raid1 sdc3[0]
73328704 blocks super 1.2 [1/1] [U]
unused devices:<none>|
|lvs|No output|
|${device_path}|/dev/md4|
| Device Paths | SHR with single volume |
|---|---|
cat /proc/mdstat |
root@ubuntu:~# cat /proc/mdstat |
Personalities : [raid1]
md3 : active raid1 sda5[0]
73319616 blocks super 1.2 [1/1] [U]
unused devices:<none>|
|lvs|root@ubuntu:~# lvs
LV VG Attr LSize Pool Origin Data% Meta% Move Log Cpy%Sync Convert
lv vg1000 -wi-a----- 69.92g|
|${device_path}|/dev/vg1000/lv|
| Device Paths | Classic RAID/SHR with multiple volume |
|---|---|
cat /proc/mdstat |
Personalities : [raid1] |
md3 : active raid1 sdc3[0] sdd3[1]
73328704 blocks super 1.2 [2/2] [UU]
unused devices:<none>|
|lvs|root@ubuntu:~# lvs
LV VG Attr LSize Pool Origin Data% Meta% Move Log Cpy% Sync Convert
syno_vg_reserved_area vg1 -wi-a----- 12.00m
volume_1 vg1 -wi-a----- 30.00g
volume_3 vg1 -wi-a----- 30.00g|
|${device_path}|/dev/vg1/volume_1/dev/vg1/volume_3|
- Enter the following commands to mount all the drives as read-only to access your data. Enter your device path (according to RAID and volume type in Step 12) in
${device_path}and mount point (created in Step 6) in${mount_point}. Your data will be placed under the mount point.mount ${device_path} ${mount_point} -o ro - Check the data in Files > Home > the folders you created in Step 5.
- For encrypted volumes and shared folders:
If you still cannot recover the data through the above steps, refrain from trying any other methods to repair because it may cause more damage to your data. As your last option, seek the help of a local data rescue company. Kindly understand that data retrieval is still not guaranteed.
Mount an encrypted volume on a PC
Make sure you have the recovery key of your encrypted volume. The following steps only work if the recovery key is correct.
-
In Terminal, enter the following command to install
cryptsetup.apt-get install cryptsetupEnter the following command to decode your recovery key. Replace ${your_recovery_key_path} with the location of the recovery key and ${base64_decode_output_path} with the desired output file name and location.base64 --decode ${your_recovery_key_path} > ${base64_decode_output_path}
Example: If the recovery key is located at /mnt/volume1.rkey and you want the output file to be named as decode_output and located in /mnt, the entered command will be: base64 --decode /mnt/volume1.rkey > /mnt/decode_output
Enter the following command to test if the recovery key is correct. Replace ${base64_decode_output_path} with the output file name and location.cryptsetup open --test-passphrase /dev/vgX/volume_Y -S 1 -d ${base64_decode_output_path} -v
Example: If the output file name is decode_output and located in /mnt, the entered command will be: cryptsetup open --test-passphrase /dev/vgX/volume_Y -S 1 -d /mnt/decode_output -v
Check the result to see if the recovery key is correct:
Correct key:Key slot 1 unlocked. Command successful. Incorrect key: No key available with this passphrase. Command failed with code -2 (no permission or bad passphrase). Find the correct key and return to the previous step to decode again.Enter the following command to decrypt the encrypted volume with your decoded recovery key.
cryptsetup open --allow-discards /dev/vgX/volume_Y cryptvol_Y -S 1 -d ${base64_decode_output_path}
Enter the following command to mount all the drives as read-only to access your data. Replace ${device_path} with your device path /dev/mapper/cryptvol_Y and ${mount_point} with the mount point created in Step 6). Your data will be placed under the mount point.mount ${device_path} ${mount_point} -o ro
Refer to Step 14 to recover your data.
Mount an encrypted shared folder on a PC
Make sure you have the encryption key of your encrypted shared folder. The following steps only work if the encryption key is correct.
In Terminal, enter the following command to obtain the root privileges.

sudo -i
Enter the following commands to enable universe repo and install ecryptfs-utils.

apt-get-repository universe
apt-get update
apt-get install ecryptfs-utils
Enter the following command to get the FNEK (Filename Encryption Key) value of your encryption key.

ecryptfs-add-passphrase --fnek
    When prompted, enter your encryption key into the Passphrase field.
    You will see an output similar to the following:

    Inserted auth tok with sig [79d78a9afb5ebc95] into the user session keyring
    Inserted auth tok with sig [e4e4e8a3ca7d5d54] into the user session keyring
    The value within the second square brackets is your FNEK value. Take note of this value because you will need it in the following steps.
Use the cd command to navigate to the mount point you have created in Step 6 of the previous section.

cd ${mount_point}
    Example: If the mount point ${mount_point} is /home/ubuntu/Test/, the entered command would look like: cd /home/ubuntu/Test/.
Create a temporary folder as a mount point for your encrypted shared folder. Use the mkdir command to create a new folder.

mkdir folder_name
In the command above, replace folder_name with a name you want to give to the folder.
Enter the following command to mount your encrypted shared folder.

mount -t ecryptfs folder_name
Make sure to replace folder_name with the name of the temporary folder you have created in the previous step. To complete the mount, additional inputs are required. Follow the instructions below:
    Passphrase: Enter your encryption key.
    Select cipher: Enter 1 to select aes as the cipher.
    Select key bytes: Enter 2 to select 32 as the key bytes.
    Enable plaintext passthrough: Enter n to disable this option.
    Enable filename encryption: Enter y to enable this option.
    Filename Encryption Key (FNEK) Signature: Enter your FNEK value from Step 3.
    After entering your FNEK value, you will see an output similar to the following:

    Attempting to mount with the following options:
    ecryptfs_unlink_sigs
    ecryptfs_fnek_sig=e4e4e8a3ca7d5d54
    ecryptfs_key_bytes=32
    ecryptfs_cipher=aes
    ecryptfs_sig=79d78a9afb5ebc95

    WARNING: Based on the contents of [/root/.ecryptfs/sig-cache.txt], it looks like you have never mounted with this key before. This could mean that you have typed your passphrase wrong.

    The warning message is just a reminder. If you have checked that your encryption key is correct, you can safely ignore this warning and proceed.
    Would you like to proceed with the mount: Enter y to agree to proceed with the mount.
    Would you like to append sig … in order to avoid this warning in the future: Enter n to continue.
    If the mount is successful, you will see the following output:

    Mounted eCryptfs
Notes:
A mount point is equal to one volume. If you have multiple volumes that need to be recovered, please create the same number of folders as the number of volumes.
The number of md (array) will be listed in the result of cat /proc/mdstat.
syno_vg_reserved_area can be ignored, the number of volume_x is equal to the number of volumes.
Hey @joellep
Which NAS brand are you referring to?
You can import the configuration and save the data by relocating the drives to a new (same or similar model) if the Synology data recovery attempt fails. However, all of the drives are still functional. Choosing the right NAS data recovery makes it possible to recover data from a NAS or any of its storage components that has been erased, corrupted, or rendered unreadable.